
Hey Devs,
In this article we will take a look at the OAuth 2.0 support built into the NodeJS QuickBooks SDK and steps for how to test your OAuth 2.0 implementation. For starters, here is the flow chart from our documentation. This will highlight how the OAuth flow is implemented.

Step 1: Download the SDK or clone the Github repo
First thing to do is go to the GitHub repo for the QuickBooks NodeJS SDK or clone it from your command line as such:
npm install node-quickbooksStep 2: Set up your keys
Create your app, provide a title, and then go to the Keys page.
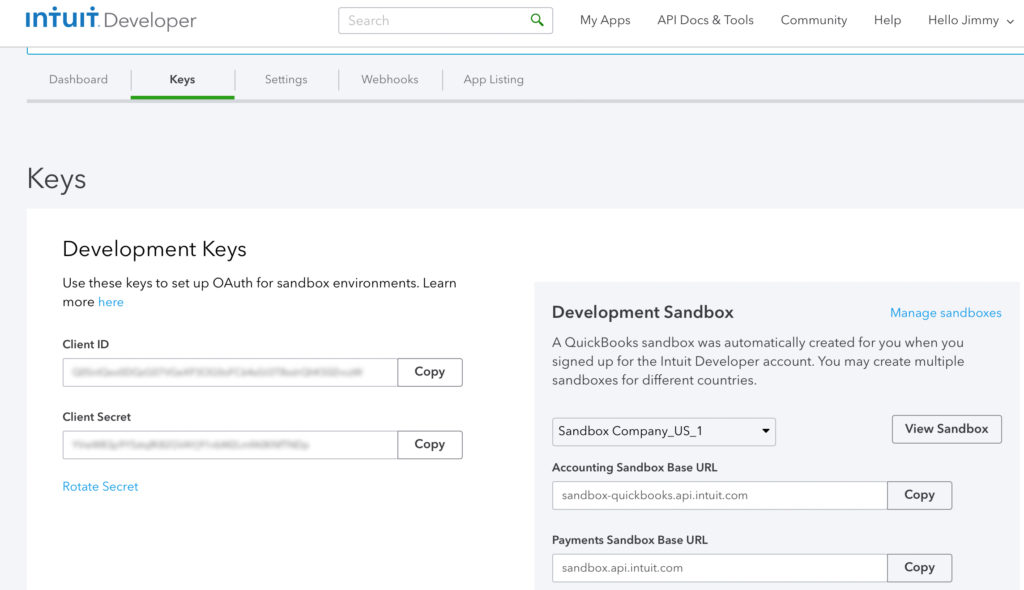
Step 3: Set up the SDK
Next, lets take a look at the code from the QuickBooks NodeJS SDK. The following is from the file app.js from within the folder ‘oauth2example’. Copy the Client ID and Client Secret and paste it into the consumerKey and consumerSecret variable declarations below. Note that in order to make the SDK work with OAuth 2.0, use the setOauthVersion() method to set to ‘2.0’.
QuickBooks.setOauthVersion('2.0');

// Generic Express config
app.set('port', port);
app.set('views', 'views');
app.use(bodyParser.json());
app.use(bodyParser.urlencoded({ extended: true }));
app.use(cookieParser('brad'));
app.use(session({ resave: false, saveUninitialized: false, secret: 'smith' }));

app.listen(app.get('port'), function () {
  console.log('Express server listening on port ' + app.get('port'));
});

// INSERT YOUR CONSUMER_KEY AND CONSUMER_SECRET HERE

var consumerKey = 'PUT_YOUR_CLIENT_ID_HERE';
var consumerSecret = 'PUT_YOU_CLIENT_SECRET_HERE';
FYI: The variable names consumerKey and consumerSecret come from the SDK’s support of OAuth 1.0. For OAuth 2.0 purposes consumerKey = Client ID and consumerSecret = Client Secret
Alternatively, the SDK also has a config.js file which looks like the following:
module.exports = {
  consumerKey:     '',
  consumerSecret:  '',
  token:           '',
  tokenSecret:     '',
  realmId:         '',
  useSandbox:      true,
  debug:           false,
  //
  // Set useSandbox to false when moving to production. For info, see the following url:
  // https://developer.intuit.com/v2/blog/2014/10/24/intuit-developer-now-offers-quickbooks-sandboxes

  testEmail:       '',  // Use this email address for testing send*Pdf functions
  minorversion: '' // Use to set minorversion for request
}
Put your Client ID and Client Secret into the consumerKey and consumerSecret data members. In app.js make the following changes:
config = require('../config');

var consumerKey = config.consumerKey,
  consumerSecret = config.consumerSecret
Step 4: Make the request to initiate the authorization request
Now lets take a look at how the SDK makes the request for the OAuth access token by looking at the following in app.js:
app.get('/requestToken', function (req, res) {
var redirecturl = QuickBooks.AUTHORIZATION_URL +
'?client_id=' + consumerKey +
'&redirect_uri=' + encodeURIComponent('http://localhost:' + port + '/callback') +
'&scope=com.intuit.quickbooks.accounting' +
'&response_type=code' +
'&state=' + generateAntiForgery(req.session);
res.redirect(redirecturl);
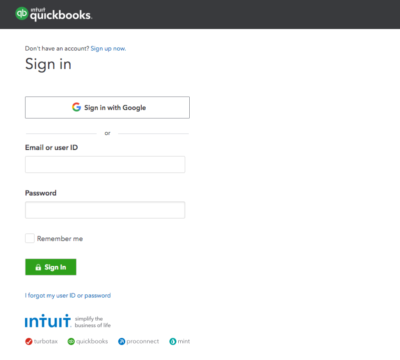
});Notice that the consumerKey is passed here as the ‘client_id’ parameter. The result is a redirect URL which brings up the login window for authentication where the user enters their QuickBooks Online sign-in credentials.
Step 5: Making the request to exchange code for refresh and access tokens
In this step, we will look at how the QuickBooks NodeJS SDK handles the POST request to exchange code for request and access tokens. This happens after the authentication from the user occurs and is where the OAuth server sends the Access Token. In the QuickBooks NodeJS SDK, this is handled by the ‘/callback’ route. Lets take a look at this code:
app.get('/callback', function (req, res) {
  var auth = (new Buffer(consumerKey + ':' + consumerSecret).toString('base64'));

  var postBody = {
    url: 'https://oauth.platform.intuit.com/oauth2/v1/tokens/bearer',
    headers: {
      Accept: 'application/json',
      'Content-Type': 'application/x-www-form-urlencoded',
      Authorization: 'Basic ' + auth,
    },
    form: {
      grant_type: 'authorization_code',
      code: req.query.code,
      redirect_uri: 'http://localhost:' + port + '/callback'
    }
  };
This is the creation the POST body for the call. The next step is to make the POST call and process the access token.
request.post(postBody, function (e, r, data) {
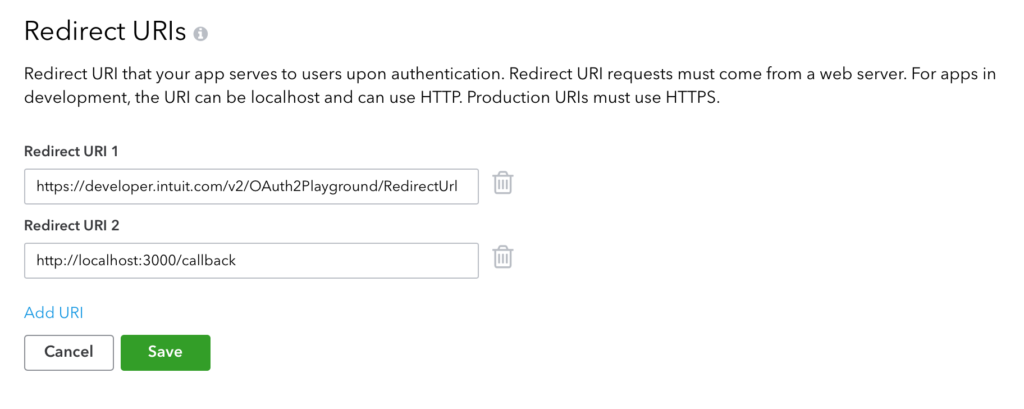
var accessToken = JSON.parse(r.body);Note: Make sure the name of the route you choose for this callback method and the redirect_uri defined in the form, matches what is entered in the Redirect URI in your control panel as shown below (Redirect URI 2):
Step 6: Create a new QuickBooks object
With the access token, the QuickBooks object can be created. The details of the parameters can be found in the following comments.
    // save the access token somewhere on behalf of the logged in user
    var qbo = new QuickBooks(consumerKey,
                             consumerSecret,
                             accessToken.access_token, /* oAuth access token */
                             false, /* no token secret for oAuth 2.0 */
                             req.query.realmId,
                             true, /* use a sandbox account */
                             true, /* turn debugging on */
                             4, /* minor version */
                             '2.0', /* oauth version */
                            accessToken.refresh_token /* refresh token */);
Once the object is created, calls can be made in the typical fashion as explained in the documentation for the QuickBooks NodeJS SDK.
Happy Coding Devs!
Jimmy Wong
Intuit Developer Evangelist
Leave a Reply