OpenID 2.o was deprecated on May 31, 2019.
Here are 2 steps to get you started quickly with your OAuth migration. This approach applies to the QuickBooks Online accounting and payment APIs.
Step 1: Enable your OAuth 2.0 Keys
Typically, this milestone takes less than 1 minute!
- Sign in to your
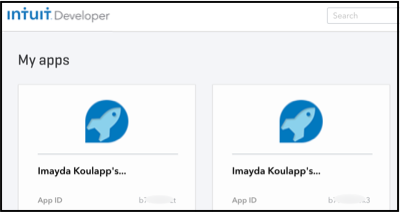
My Apps dashboard
- Click the applicable app card.

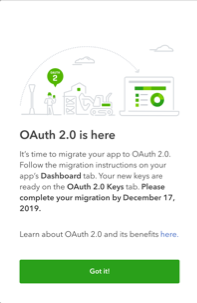
- Accept the OAuth 2.0 pop-up

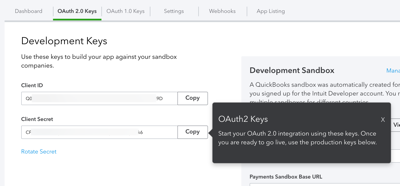
- Click the OAuth 2 Keys tab:

- Milestone done!! View your shiny new OAuth 2.0 keys for Development and for Production!

OAuth Keys Self-check: How do I know what I’m using in my code?
We suggest that you check your application code now to verify which keys you’re currently using.
- Your OAuth 1.0 keys tab will show 3 values: App Token, OAuth Consumer Key, and OAuth Consumer Secret.
- Your OAuth 2.0 keys tab will show 2 values: Client ID and Client Secret.
Step 2: Review your Migration Options
How much of the OAuth 2.0 and Migration docs do you actually need to read?
Guess what? You might only need to read part of the OAuth Migration guide. It all depends on how you want to handle your Connect to QuickBooks and/or Sign in with Intuit process during your migration.
Take 1 minute to read “When and how will migration to OAuth 2.0 affect my existing connections?” in our Migration FAQ to learn about your options.

Migration Options Self-check: Are you ready to choose an option?
Do you know which option is the best fit for your app? If you’re still not sure, feel free to ask your question in our OAuth help community!
What’s next?
After completing this step, we suggest you look at the OAuth Migration Guide.
Did you know: If you tell us your migration plans and progress, we’ll enter you for a chance to win an entertainment system of your dreams–plus we can help you stay on track! Click here to share your migration plans with us–it will only take about 2 minutes.

Leave a Reply